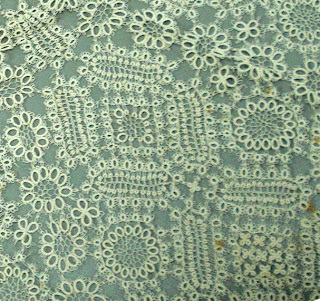
In this first English book devoted entirely to tatting, the join as we know it has not yet been invented, so Mlle Riego overcomes this difficulty by using a netting needle or sewing needle instead of a shuttle. She made joins by passing the needle through picots. This method was soon supplanted by the regular join, but was a revolutionary step by allowing larger pieces to be made without laboriously tying the picots together with bits of thread.
In this book, the needle is manipulated the same way as a shuttle, so this is not needle tatting in the modern sense.
Mlle. Riego's description of the single stitch may seem baffling when you first read it, but take a shuttle in hand and follow along and it becomes clear. Once made, you can recognize this as our "second half" of the double stitch.
On page 6 she writes:
Raise the 2nd finger of the left hand, so as to loosen the loop ; pass the needle though the back part of the loop, bringing it in front between the two threads, as Fig 2 ; and holding the foundation thread quite tight, raise the right hand above the left : the foundation thread will now divide the loop into two parts, and still holding the foundation thread quite tight, remove the 2nd finger from the upper part of the loop, and placing it in the lower part, raise it up so as to draw the upper part of the loop tight, which places it between the finger and thumb, and finishes the stitch. The stitches being formed by the loop round the fingers, the foundation thread should be capable of contracting or expanding the loop.
Example. – Edging : First Oval – Commence a loop, and work 20 single stitches as directed above, withdraw the fingers from the loop, and draw the foundation thread tight. Commence the next oval close to the one already worked. Repeat.
Compare to Mrs. Gaugain's instructions here. Do you think Riego's is clearer? It is a nice touch that she points out that the core thread should be able to slide. And, like all the others before, she includes the ubiquitous 20 half stitch edging.


